There is the 2nd most prosperous country on this planet, which is apparently too small to get a proper VAT declaration in Dynamics 365 for Finance. Not too small for ER-Consult, though. We have released a complete Luxembourg VAT Declaration (TVA) built entirely with Electronic Reporting (ER) and delivered as an AED-compliant PDF form.
All relevant boxes of the declaration will be populated, including the sales regime, the key turnover fields, reverse-charge sections for both EU sales and EU purchases, the deductible VAT areas, adjustments, and all totals required for the final VAT balance, as well as the identification header. We support 17% (standard), 14% (intermediate), 8% (reduced), 3% (super-reduced) as the VAT rates, i.e. the status quo from the 1st of January 2024 onward. The title is automatically generated, based on the selected from-to date criteria.
In detail, the following sections and cells are calculated:
- Section I.A: Grand total of sales A.1.b
- Section I.B: Exempt sales, including “1” intra-community deliveries (457), “2” export of goods into 3rd countries (014), “3” other sales exempt everywhere (015, international transport), “4” exempt domestic sales (016, financial and insurance, postal services), “9.a” sales of goods acquired in triangular trade (018), “9.b.1” delivery of services and intangible goods into an EU country (423), “9.b.2” delivery of services and intangible goods into an EU country where they are exempt (424), and “9.c” rendering services for a non-EU customer and other operations abroad (019)
- Section I.C: Total taxable sales turnover as a difference of I.A-I.B
- Section II.A: Breakdown of domestic sales of goods and services (701-040)
- Section II.B: Intra-community acquisitions of goods implemented as a Use tax in D365 (711-194)
- Section II.D.1: Import of goods from outside of the EU for business purposes, either self-declared or recharged by the customs broker as an VAT receivable (721-195)
- Section II.E.1: Receipt of reverse-charged services rendered in a foreign EU country and implemented as a Use tax (741-435)
- Section II.E.2: Receipt of reverse-charged services rendered in a foreign country outside of the EU (ex: Britain, USA, India) and implemented as a Use tax (751-445)
- Section II.F: Receipt of reverse-charged goods domestically in Luxembourg (for example: purchases of scrap; construction materials within the construction industry, 769-764)
- Section II.H: Total of the VAT payable, aggregating all of the above
- Section III.A: Totals of the VAT receivable, including “1” domestic purchases, “2” intra-community acquisitions from II.B, “3” import VAT from II.D.1, “4” reverse-charged VAT receivable offsetting the II.E.1, II.E.2 and 2.F
- Section III.C: Grand total of the VAT receivable
- Section IV: Grand totals and the resulting VAT load
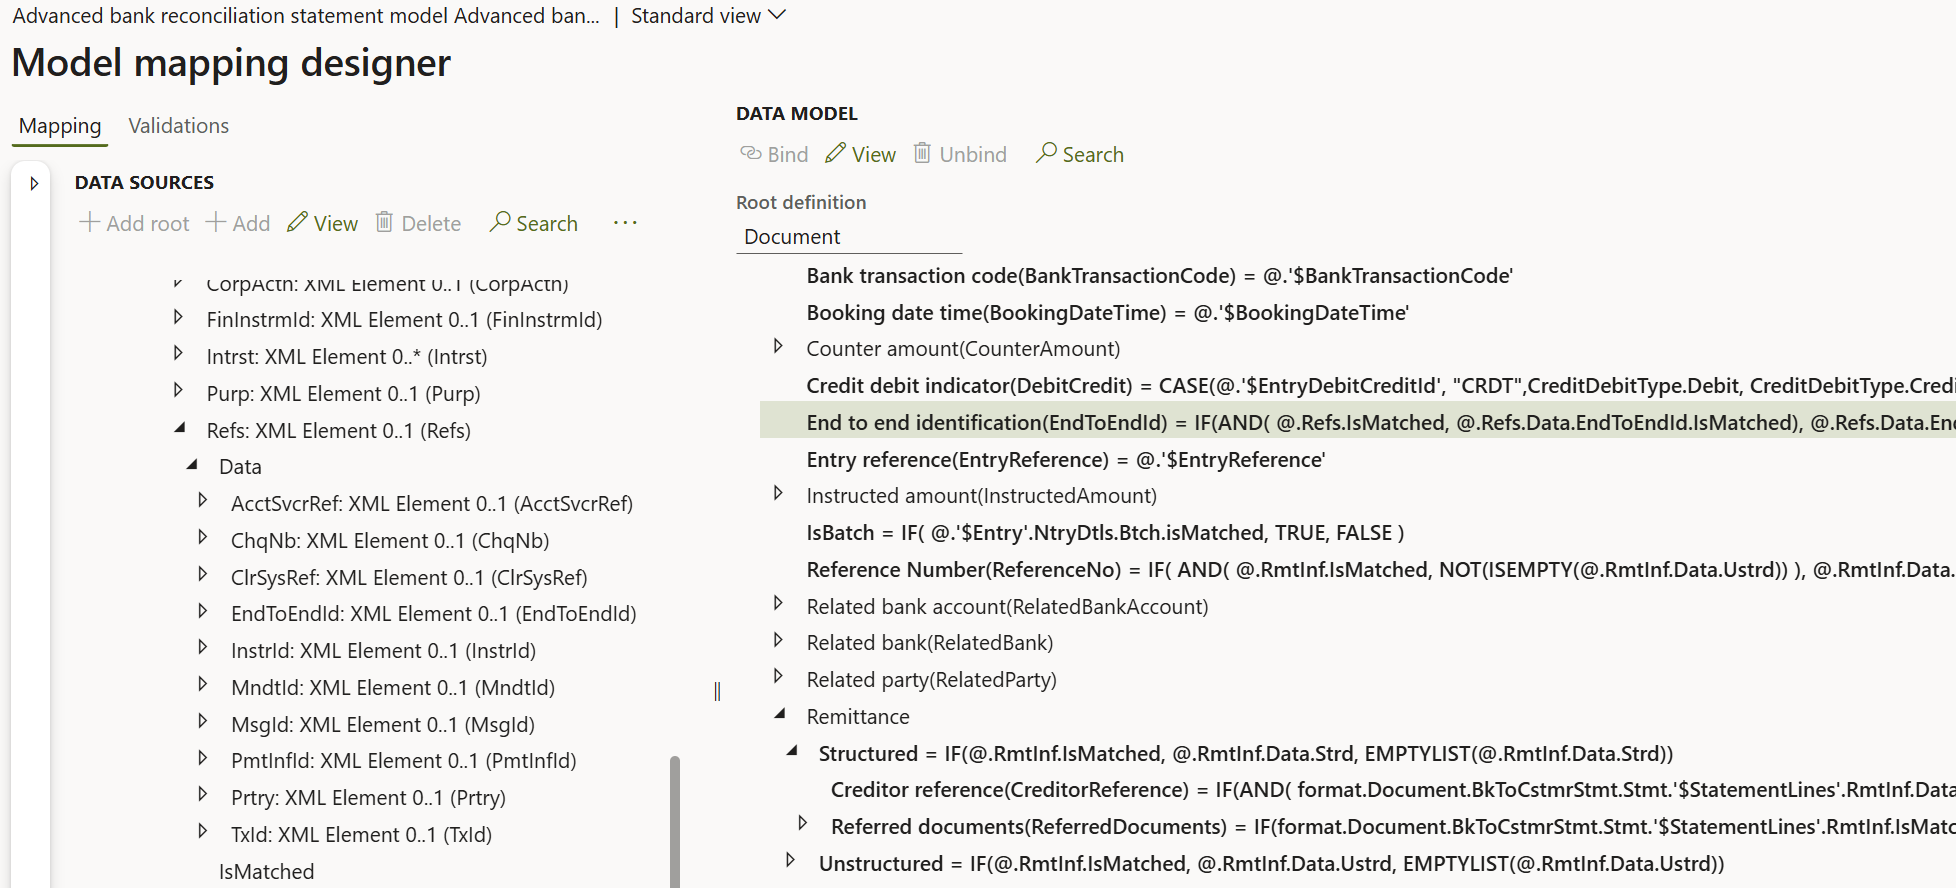
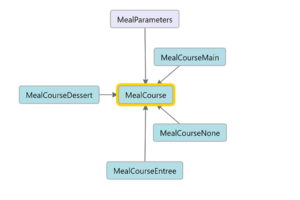
A tax code lookup, implemented exactly like in all other supported VAT declarations in Dynamics 365 for Finance, namely under the Application specific parameters of the ER format, is fully configurable and free of hard-coding:
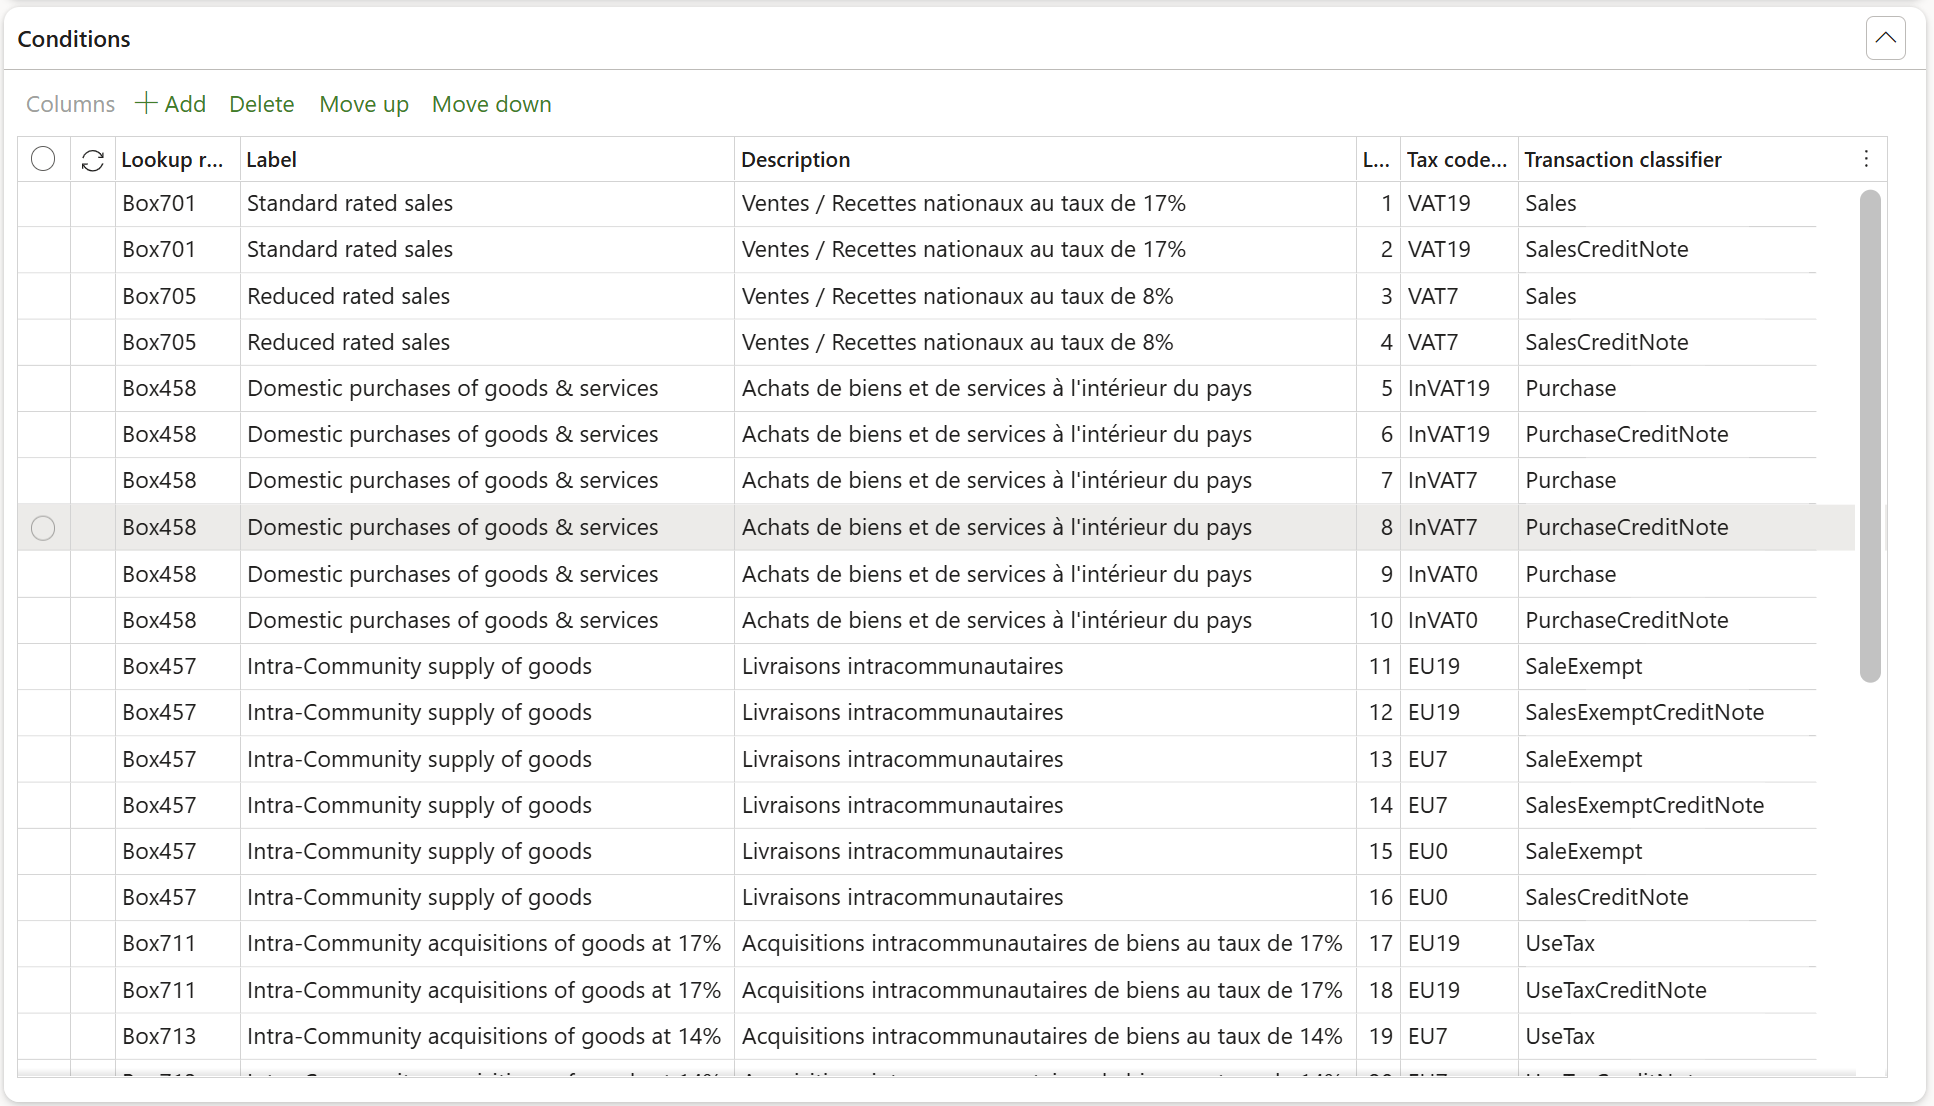
*This screenshot has been taken in the DEMF company of the “Contoso” demo database, hence the German rates.
All this makes the solution transparent, maintainable, and aligned with Microsoft’s Globalisation framework. The ER format is compatible with the Tax calculation add-on, too: in a multi-country, multi-VATID scenario it may be selected as the VAT declaration for the LUX country, alongside Microsoft’s standard VAT declarations for NLD or BEL.
Blog series on Finance and VAT in the EU

Further reading:
Luxembourg VAT Declaration for D365FO in PDF
Troubleshoot the VAT Declaration in D365 for Finance
D365 Petty cash review
Advance payment invoices in Fixed fee projects in D365, D-A-CH style
Sometimes you pay Reverse Charge in D365
Minimalistic EU VAT Configuration in Dynamics 365
Austrian VAT declaration / Umsatzsteuervoranmeldung 2020
EU Tax directives