Recently I was given an opportunity by an American partner to develop something around dimensions in Dynamics 365 for Finance. A few years ago, my blog Get a cost center in D365FO resonated quite a bit, this time it goes deeper.
The task is generally to enrich a source document with a dimension [segment] according to the custom business logic, and it is one of the most common customizations in D365FO.
In this particular case, I had to put the Intercompany dimension into the GL transaction every time the respective company was involved in an IC exchange. Naturally, the IC dimension should be an entity-backed one, it should be! A few times I had a debate why didn’t we make a custom [free text] dimension for the intercompany: some legal entities were not in the D365 implementation scope [yet]. “At the headquarters D365 will only be rolled out in 2028!” The argument is flawed, since it only takes 3-5 minutes to create a new legal entity in D365 with the given ID and name.
The task can be decomposed into the following steps:
- Identify the dimension attribute in question.
- For the given legal entity ID (DataAreaID), find the corresponding attribute value.
- Find a DimensionAttributeValueSet record for the given value, where the IC is the only segment populated.
- Merge it with the existing dimensions of a transaction or a source document.
Identify the dimension attribute
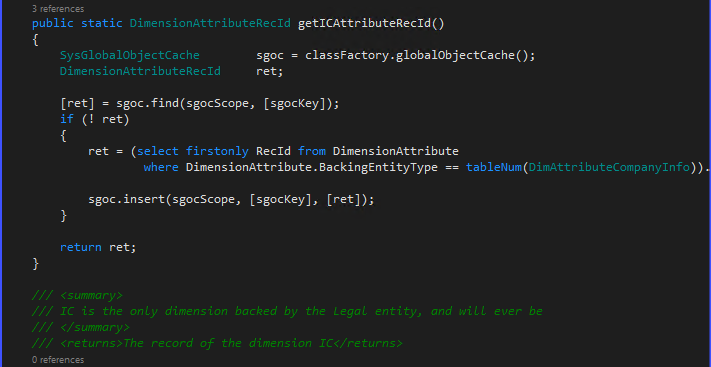
The below dimension is backed by the Legal entity table CompanyInfo, in the demo company USMF it bears the name LegalEntity:
We won’t look it up by the name though, but the constant BackingEntityType, which is the number of the table. The developers did not use the TableID of the CompanyInfo directly, they abstracted the backend table with a view DimAttribute* as they did for every other ‘back-able’ entity in D365FO (Customers, Suppliers, Assets etc.) to only return the Key=RecId and Value=the symbolic 4 letters code of every legal entity, here in pseudocode *):
CREATE VIEW DimAttributeCompanyInfo
AS SELECT RecId AS KEY, DataArea AS VALUE, …
FROM CompanyInfo
*) I call it pseudocode, since a CompanyInfo does not physically exist in the database. It’s rather a DirPartyTable record. This is probably the reason why the views were put on top: the DirPartyTable does not only hold legal entities but also cost centres, departments, other organisations.
The below snippet will return the RecId of the dimension LegalEntity in D365 demo database, its performance is reinforced with the global cache:
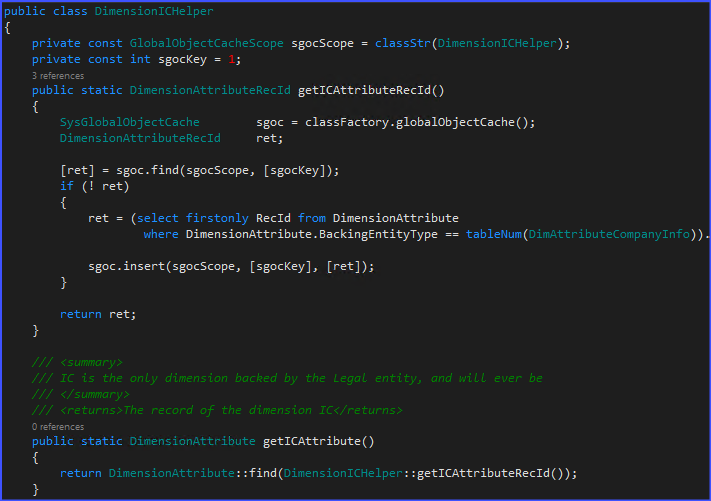
public class DimensionICHelper
{
private const GlobalObjectCacheScope sgocScope = classStr(DimensionICHelper);
private const int sgocKey = 1;
public static DimensionAttributeRecId getICAttributeRecId()
{
SysGlobalObjectCache        sgoc = classFactory.globalObjectCache();
DimensionAttributeRecId     ret;
[ret] = sgoc.find(sgocScope, [sgocKey]);
if (! ret)
{
ret = (select firstonly RecId from DimensionAttribute
where DimensionAttribute.BackingEntityType == tableNum(DimAttributeCompanyInfo)
&& DimensionAttribute.DimensionKeyColumnName /*active*/).RecId;
sgoc.insert(sgocScope, [sgocKey], [ret]);
}
return ret;
}
}
See also Get a cost center in D365FO.
Find the corresponding attribute value
The financial dimensions do not relate to the original records in the backing table (aka EntityInstance; here: CompanyInfo) but the global DimensionAttributeValue records. These only store references to the “Entity Instances”. The below code returns a DimensionAttributeValue for the given DataAreaID legal entity symbol:
public static DimensionAttributeValue  getICAttributeValueByDataAreaId(DataAreaId _value)
{
DimAttributeCompanyInfo     dimAttributeCompanyInfo;
DimensionAttributeValue     icAttributeValue;
select firstonly icAttributeValue
where icAttributeValue.DimensionAttribute == DimensionICHelper::getICAttributeRecId()
exists join dimAttributeCompanyInfo
where dimAttributeCompanyInfo.Key   == icAttributeValue.EntityInstance
&& dimAttributeCompanyInfo.Value == _value;
if (! icAttributeValue)
{
icAttributeValue = DimensionAttributeValue::findByDimensionAttributeAndValue(
DimensionAttribute::find(DimensionICHelper::getICAttributeRecId()),
_value,
false,
true); // Create if needed
}
return icAttributeValue;
}
The DimensionAttributeValue::findByDimensionAttributeAndValue() call is for an improbable situation where the backing record exists but its DimensionAttributeValue replica has not been created yet. They only do it as the legal entity (in general, an Entity Instance) is used as a dimension for the first time somewhere.
Try it for yourselves: in the demo AxDB, only USMF, USRT, USSI and DEMF are present in the DimensionAttributeValue table, while the General ledger > Chart of accounts > Dimensions > Financial dimensions, Dimension values form shows all 25+ potential ‘candidates’. Weird.
Find or create a DimensionAttributeValueSet
Next, let’s convert the dimension value found into a dimension “set” of only one entry, e.g. {USMF}. This corresponds to a DefaultDimension (the one without the MainAccount segment inside) of this kind: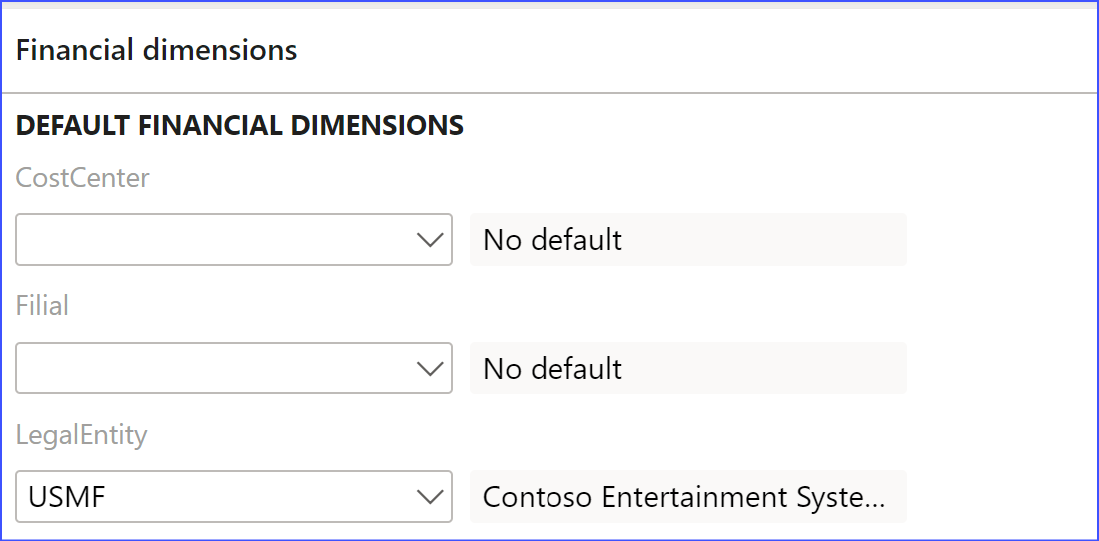
Again, this Set may not exist. For example, imagine a holding with 100 companies, but only 4 are in intercompany relations with each other. Then the number of the DefaultDimensions will be in the range 0..4. What, zero?! It depends if any historical business case between the companies X and Y has ever been recorded in this D365 instance.
This is why the code is what it is:
public static DimensionDefault getDefaultDimensionForCompany(DataAreaId _value)
{
DimensionAttributeValueSetStorage   valueSetStorage = new DimensionAttributeValueSetStorage();
valueSetStorage.addItem(DimensionICHelper::getICAttributeValueByDataAreaId(_value));
return valueSetStorage.save();
}
Merge the value with the existing dimensions
Finally, at some extension point we will be using the above DimensionAttributeValueSet according to some custom business logic. There may be 3 options:
- We use the ‘naked’ default dimension as is (very seldom)
- We merge it with another Default dimension in a master data record or in a source document (example: a new customer representing the IC company immediately becomes this segment populated)
- We merge it with a LedgerDimension i.e. with a dimension set where the Main Account segment is populated (example: a GL transaction or a GL journal line of the Ledger AC type)
The 3rd case is the hardest since we have to convert the DefaultDimension into a LedgerDimension first, then merge:
DimensionDefault    icDimensionDefault = DimensionICHelper::getDefaultDimensionForCompany(curExt());
LedgerDimensionBase icLedgerDimension = LedgerDimensionFacade::serviceCreateLedgerDimForDefaultDim(icDimensionDefault, ledgerJournalTrans.LedgerDimension);
ledgerJournalTrans.LedgerDimension = LedgerDimensionFacade::serviceMergeLedgerDimensions(icLedgerDimension,  ledgerJournalTrans.LedgerDimension);
X++ programming blog series
Further reading:
Import a D365 FO entity with a virtual KEY field
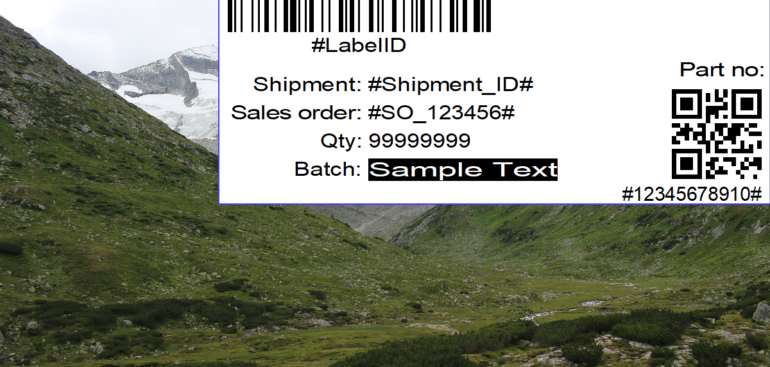
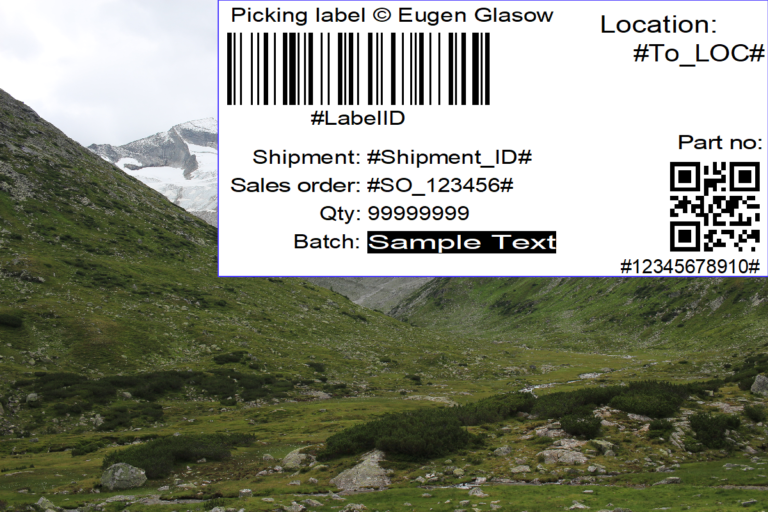
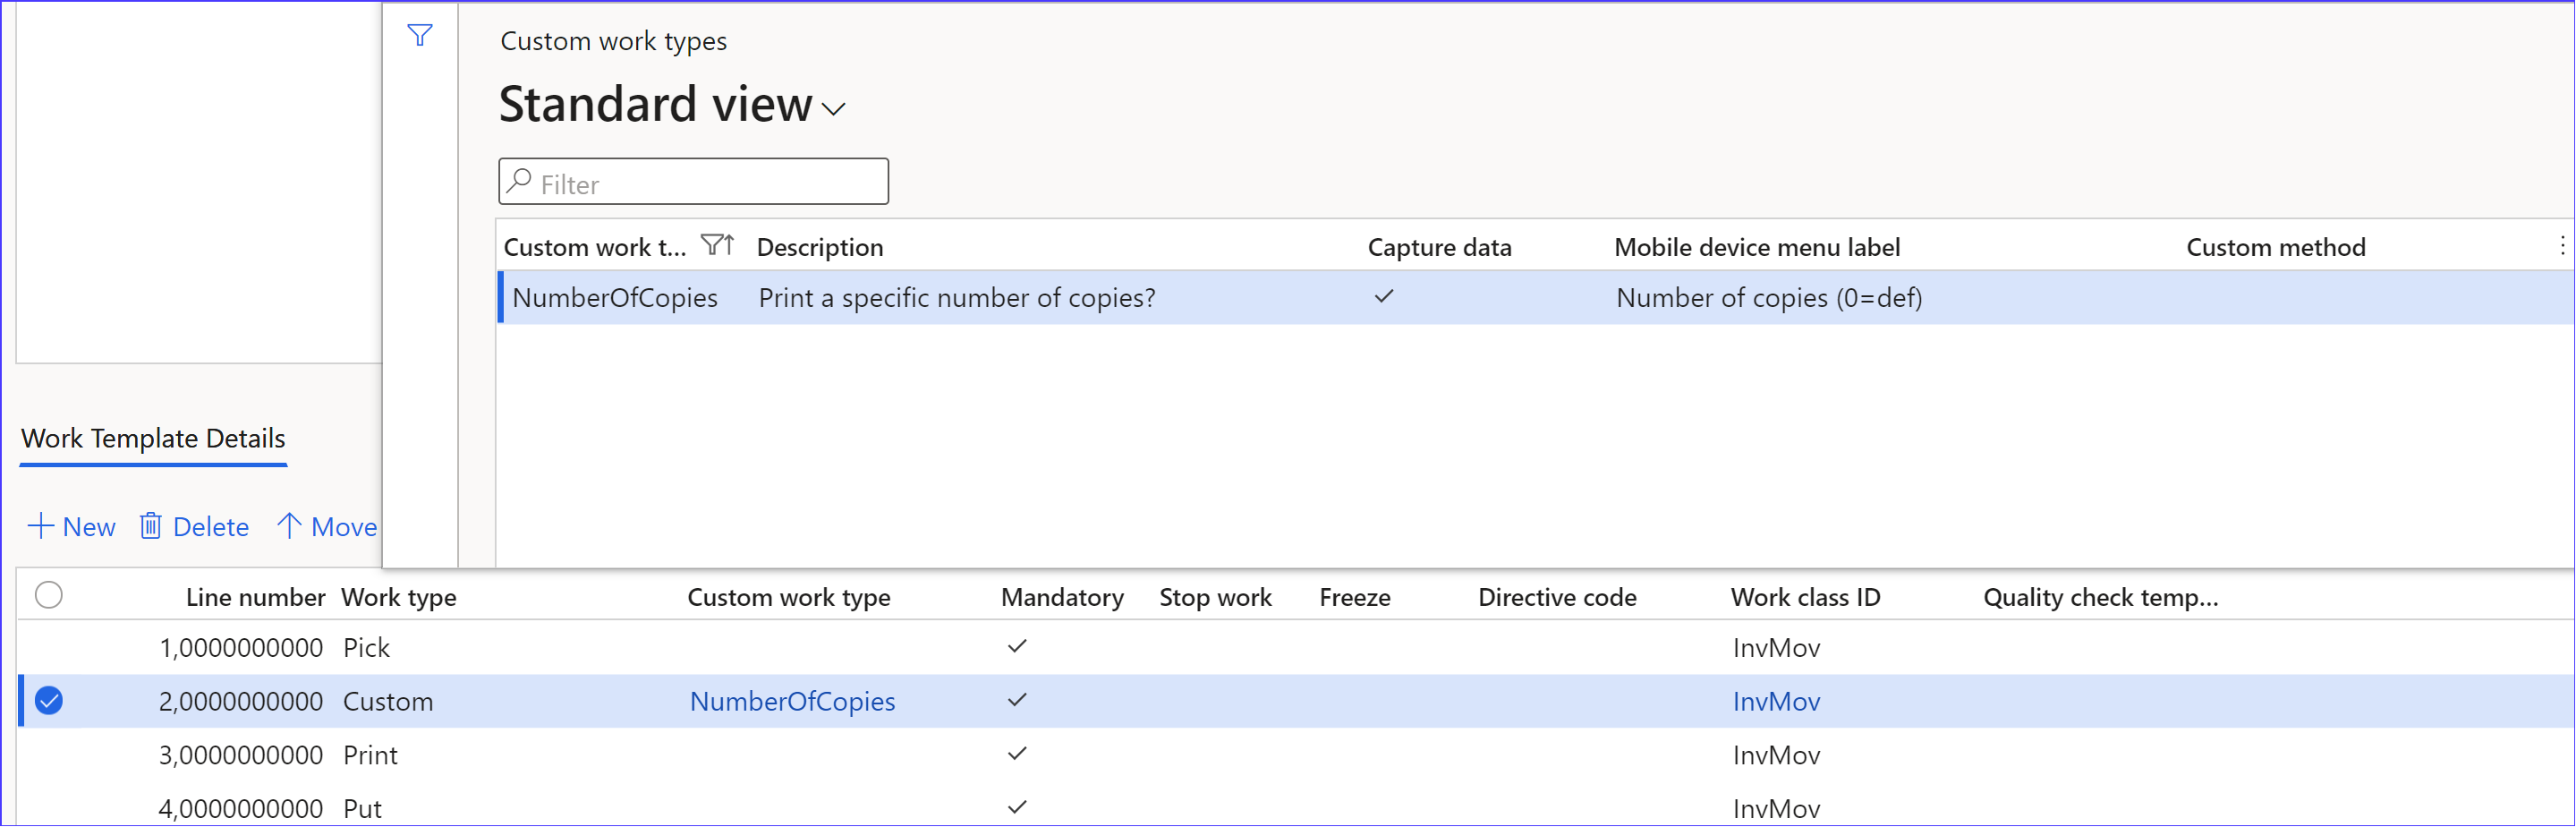
Print a custom product label: a Template solution in Process Guide Framework, with detours
Extending SysOperation contracts with DataMemberAttribute
X++ Decorator pattern in Dynamics 365
Get a cost center in D365FO
Find and merge a DimensionAttributeValue
SysExtension framework pitfall: avoid new()
Input validation and messaging in the Process Guide Framework