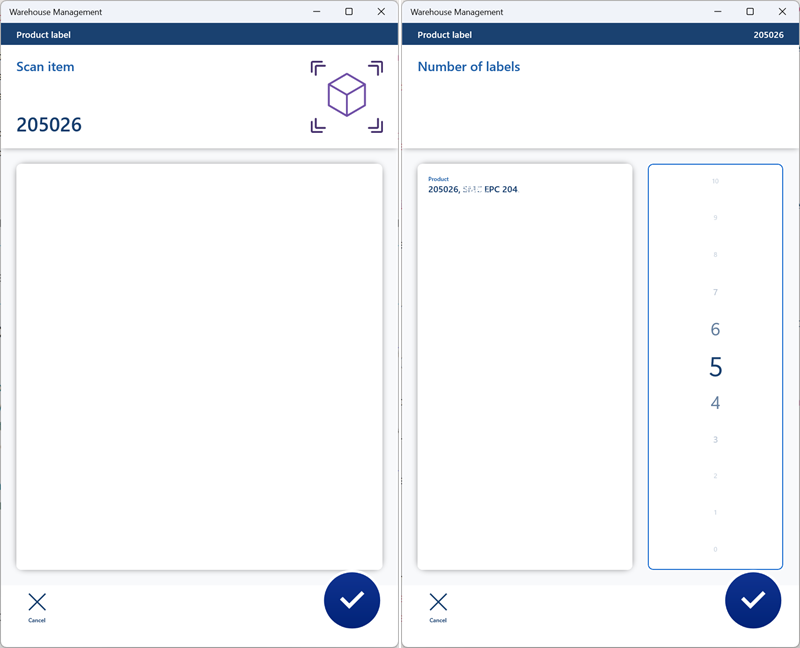
I wanted to have a template code for a new Warehouse Management App menu item in Dynamics 365 for SCM. The guidance …/warehousing/process-guide-framework is good, but a few aspects are missing there. This sample takes an Item ID (released product), looks for a custom label for products, deducts a default printer and sends a requested number of product labels to the printer. It does not require any parameters but the mobile device menu item setup to perform this job, which is my credo: the less configuration I have, the less conversations with the customer must be led, and the less documentation must be written. As we all agree, writing documentation – including this one – is utterly boring.
ProcessGuideController and WHSWorkExecuteMode
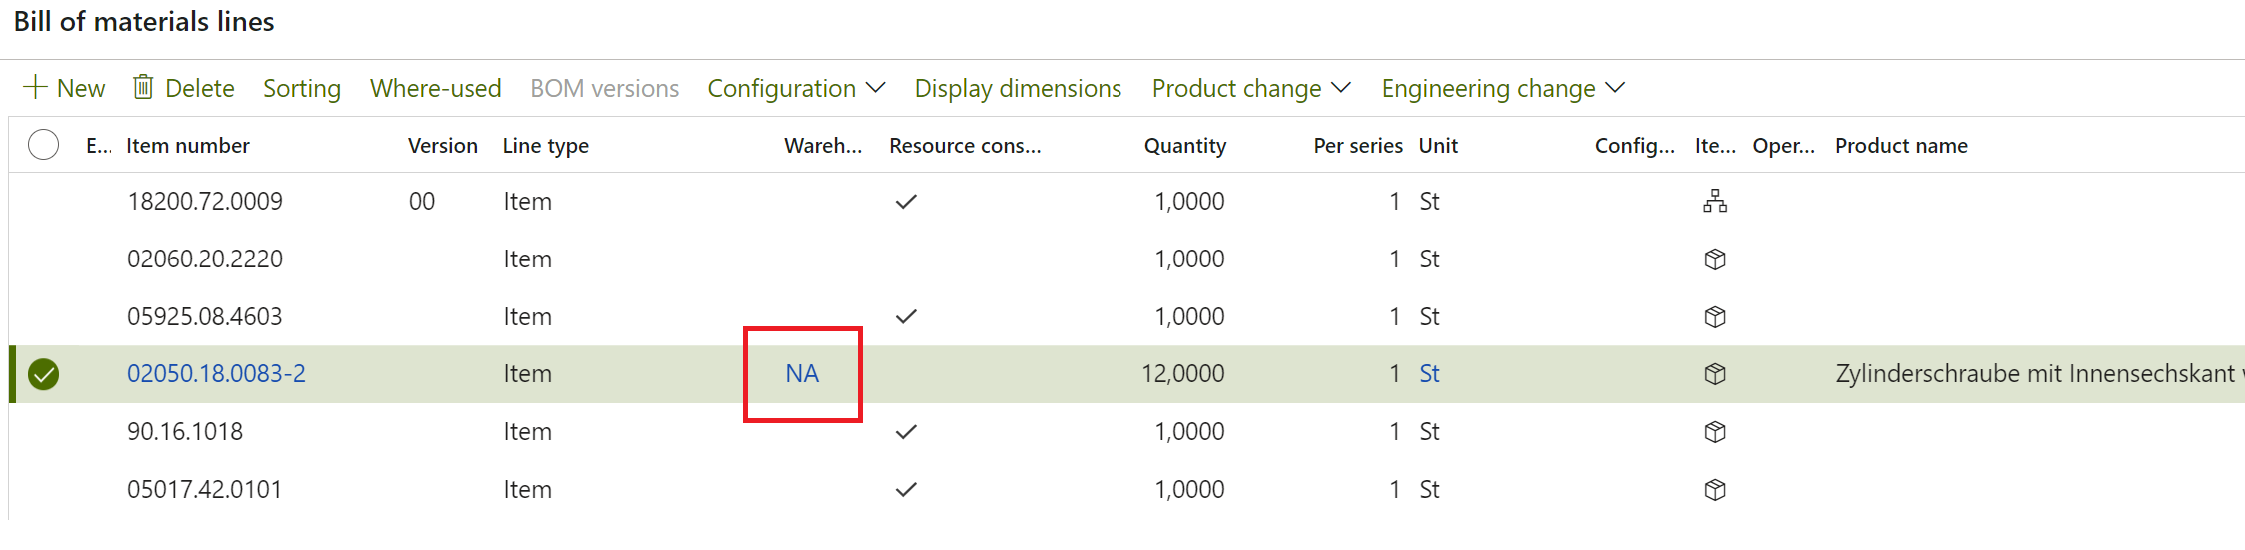
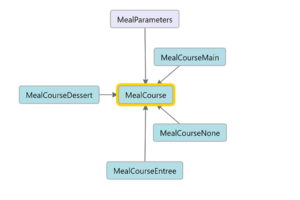
The below mobile device menu item is an indirect one, i.e. it is not based on any warehouse work. A new menu item class is instantiated in connection with a new WHSWorkExecuteMode enumeration element, while an indirect menu item is driven by an Activity code in Warehouse management > Setup > Mobile device , which is a different enumeration: WHSWorkActivity:

This is why you have to extend each of the enums with a new element of the same name (here: WHSWorkExecuteMode::PrintProductLabel = WHSWorkActivity::PrintProductLabel). One is converted into another; you do not have to explicitly program the mapping anymore: it is enough for the elements to have precisely the same name.
The code in the controller is a no-brainer:
X++ programming blog series
Further reading:
Import a D365 FO entity with a virtual KEY field
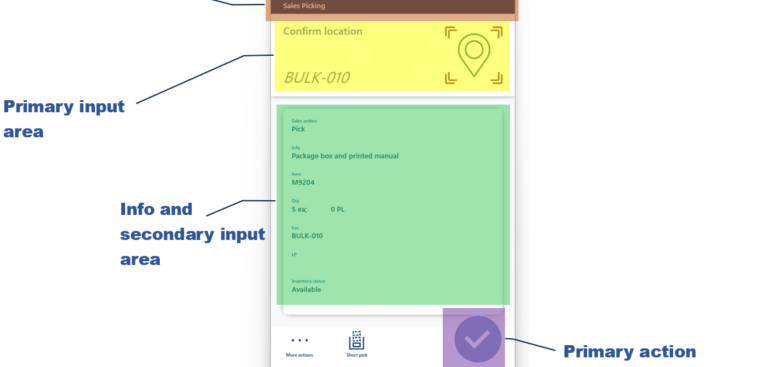
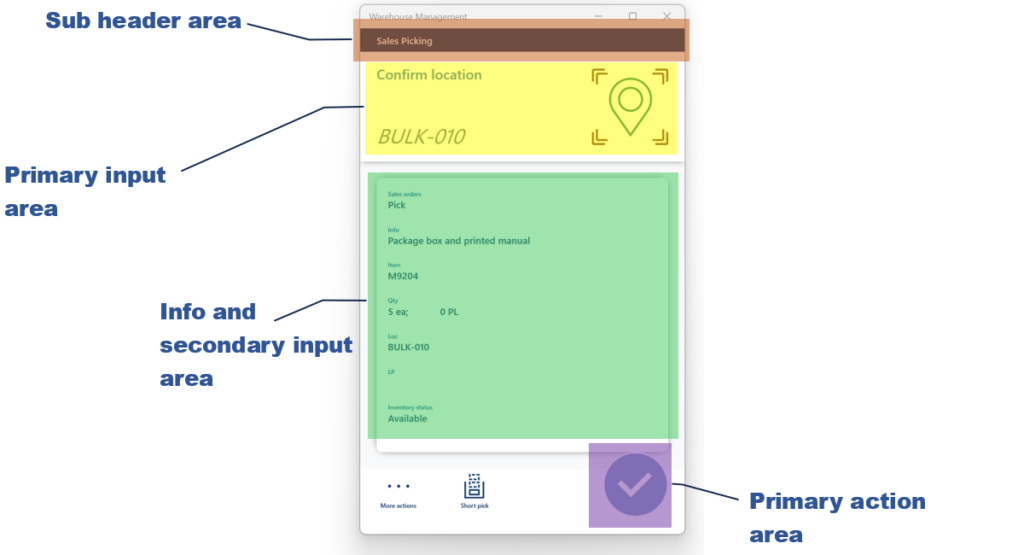
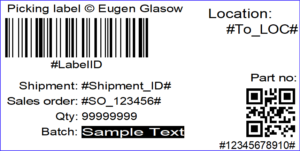
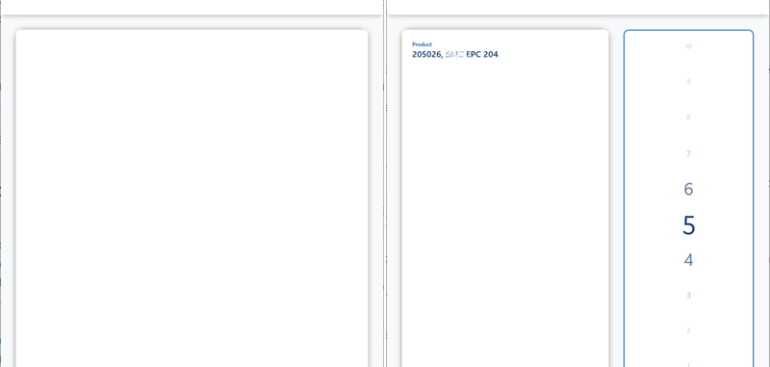
Print a custom product label: a Template solution in Process Guide Framework, with detours
Extending SysOperation contracts with DataMemberAttribute
X++ Decorator pattern in Dynamics 365
Get a cost center in D365FO
Find and merge a DimensionAttributeValue
SysExtension framework pitfall: avoid new()
Input validation and messaging in the Process Guide Framework