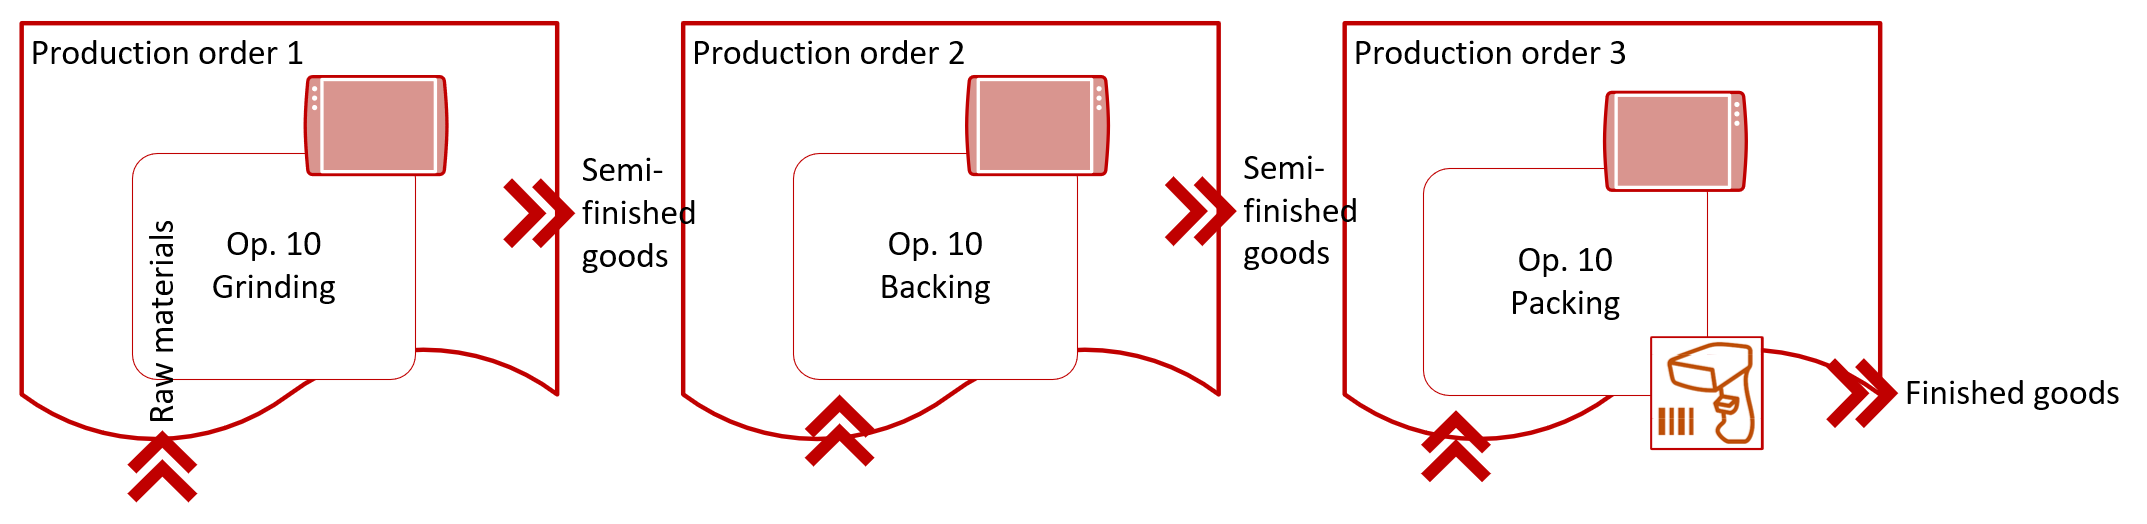
Copy-paste with keyboard script 2: from Excel to D365FO

Copy-paste with keyboard script 2: from Excel to D365FO

Again an entity was missing in D365FO to import the data, this time a custom one. Building upon my work Copy-paste automation in D365 FO with a keyboard script, I created a Wunderwaffe script to copy a simple table with a Code and a Description directly from Excel into the D365FO browser window.

Close all other windows and put the browser with D365FO and Excel side by side. Place the cursor in Excel in the Code column at the first row to copy, then hit Ctrl-J. The script will start copying data from Excel and pasting records in D365FO by switching windows forth and back:
^j::
; --------- Place the focus on the code column in Excel, start with Ctrl-J
Loop 200 {
; --------- Copy the content of the Code from Excel
Send, ^c
Sleep, 500
; --------- Switch the window: Alt-Tab
Send, !{TAB}
Sleep, 1000
; --------- Create a new record in the D365FO window
Send, {Alt Down}
Sleep, 500
Send, n
Sleep, 500
Send, {Alt Up}
Sleep, 1000
; --------- Go to the next field and back in the D365FO to get into the edit mode
Send, {TAB}
Sleep, 1000
Send, +{TAB}
; --------- Paste the code
Send, ^v
; --------- Switch the window and go back to Excel
Send, !{TAB}
Sleep, 1000
; --------- Copy the content of the Description column from Excel
Send, {Right}
Send, ^c
Sleep, 1000
; --------- Switch the window for D365FO
Send, !{TAB}
Sleep, 1000
Send, {TAB}
Sleep, 500
; --------- Paste the description
Send, ^v
; --------- Switch the window for Excel
Send, !{TAB}
Sleep, 1000
; ---------Scroll down to the next record, and repeat the cycle
Send, {Down}{Left}
}
Return
; Press F1 in panic
F1::ExitApp

X++ Decorator pattern in Dynamics 365

X++ Decorator pattern in Dynamics 365

A couple of times in my career I stumbled upon a development requirement to perform a set of loosely connected actions with a similar interface upon a certain business object depending on parameters or conditions:

  • Sometimes do this
  • Sometimes do that
  • Sometimes do this and that
  • In future, you may do something else in addition.

In Dynamics 365 for Finance and Operations, this usually results in a hierarchy of classes. The classes are typically bound to some parameter table containing checkboxes or – better – an enumeration field. This enumeration directs the SysExtension class factory which objects to instantiate.
A simple while_select loop traverses the parameter table and executes the instantiated objects one by one. However, if the classes implement more than one action i.e. method, this external loop may become repetitive. I ended up with a certain design pattern which turned out to have a name in object-oriented programming: a Decorator an internal iterator.
Errata: as readers pointed out, there is more of a Decorator pattern in this, than an Iterator pattern.

The constructor instantiates an object and gives it the previous object as a parameter, thus forming a linked chain of objects. The external actor only needs to take one parameter – the topmost object in the chain – and to call one operation .doThis() upon it. This .doThis() method is exclusively implemented in the parent class of the hierarchy, and the parent class knows how to iteratively call the objects.

Adding a new grid with a parameter table to an existing form is more difficult than adding new field(s) into an existing table via extensions. If the number of possible actions is countable and small, you may think of de-normalizing the parameter table and making an array field with possible options in one record. Instead of iterating records, the constructor will be iterating fields.

Below is an application of this pattern to a simple task: calculation of the nutrition value of one meal, where a meal may consist of an Entrée, an Entrée and a Main course, a Main course and a Dessert and so on:

class MealCourseAtrribute extends SysAttribute implements SysExtensionIAttribute
{
MealCourseEnum mealCourseEnum;
public void new(MealCourseEnum _mealCourseEnum)
{
super();
mealCourseEnum = _mealCourseEnum;
}
public str parmCacheKey()
{
return classStr(MealCourseAtrribute) + enum2Symbol(enumNum(MealCourseEnum), mealCourseEnum);
}
public boolean useSingleton()
{
return true;
}
}

abstract public class MealCourse
{
private MealCourse prevMealCourse;
abstract protected MealKcal kcal()
{
}
final public MealKcal kcalTotal()
{
MealKcal ret = this.kcal();
if (prevMealCourse)
{
ret += prevMealCourse.kcalTotal();
}
return ret;
}
private MealCourse prevMealCourse(MealCourse _prevMealCourse = prevMealCourse)
{
prevMealCourse = _prevMealCourse;
return prevMealCourse;
}
protected void new()
{
}
public static MealCourse construct(Meal _meal)
{
MealCourse mealCourse, prevMealCourse;
MealCourseAtrribute attr;
MealCourseEnum mealCourseEnum;
int i;
for (i = 1; i <= dimOf(_meal); i++)
{
mealCourseEnum = _meal[i];
attr = new MealCourseAtrribute(mealCourseEnum);
mealCourse = SysExtensionAppClassFactory::getClassFromSysAttribute(classStr(MealCourse), attr);
if (prevMealCourse)
{
if (mealCourseEnum == MealCourseEnum::None)
{
continue;
}
mealCourse.prevMealCourse(prevMealCourse);
}
prevMealCourse = mealCourse;
}
return prevMealCourse;
}
public static void main(Args _args)
{
info(strFmt("Total calories in this meal is %1", MealParameters::find().meal().kcalTotal()));
}
}

[MealCourseAtrribute(MealCourseEnum::Entree)]
public class MealCourseEntree extends MealCourse
{
public MealKcal kcal()
{
return 140;
}
}
[MealCourseAtrribute(MealCourseEnum::Main)]
public class MealCourseMain extends MealCourse
{
public MealKcal kcal()
{
return 600;
}
}
[MealCourseAtrribute(MealCourseEnum::Dessert)]
public class MealCourseDessert extends MealCourse
{
public MealKcal kcal()
{
return 200;
}
}

Dynamics 365 FO may return no records for a certain table, but it cannot return an NULL value for a field; in addition, I would like to spare the caller an if (! parameter) {return}; validation. This is why the caller is always given at least one object of the MainCourseNone type which returns a zero and does nothing. The API then reduces to a one-liner:
… = MealParameters::find().meal().kcalTotal();
here for a main course and a dessert:
Decorator pattern: Nutrition value calculation

Adding a new meal course type e.g. a soup is as simple as adding a new enumeration element to the MealCourseEnum, adding a new array element to the Meal extended data type (but only if the Soup may be ordered in addition to the other courses), and implementing a class tagged with this enumeration element as an attribute:
[MealCourseAtrribute(MealCourseEnum::Soup)]
public class MealCourseSoup extends MealCourse
{
public MealKcal kcal()
{
return 100;
}
}

Beware of the current limitations in the array fields support in D365FO: they cannot be exposed in Excel or imported properly in the Data management module.
You may download the source code here: TheMealProject

Exposing Dynamics 365 Onebox to the LAN

Exposing Dynamics 365 Onebox to the LAN

The below instruction was inspired by the blog How to access AX 7 from other machine. However, I work not on a single notebook, but connect to a prosumer 6-core Windows Server 2016 machine with 32 GB RAM, 1 TB M2. SSD. The resulting performance is comparable – if not higher – to a D365 production instance.

Onebox in the LAN

  1. The first [time consuming] step is to download the latest Dynamics 365 for Finance and Operations, Enterprise edition 7.3 with Platform update 12. Once downloaded, unpack the 10x3GB RAR archives to a fast disc, preferably SSD. The Connect site some of us have been using semi-officially to download the latest releases and betas has been retired, but the latest VHD is available here: https://aka.ms/finandops73pu12, God knows for how long.Update 27.03.2018: the above SharePoint link has expired too. Use LCS to download the image.
  2. Install the Hyper-V role to the Windows Server, should it has not been done before.
  3. In the Virtual Switch manager of the Hyper-V manager, create a new Virtual Switch of the External network type, and Allow management operating system to share this network adapter: Contrary to this advice, there is no need for another Internal network, because the virtual machine is going to be an equal peer in the LAN, visible under a local IP address. Should your physical server be assigned a fixed IP and running its own DHCP service, note the IP address down before applying the changes, because the Hyper-V switch is going to take place of the original Ethernet connection and become the primary ‘gate’.
  4. Next, create a new Virtual Machine in the Hyper-V manager. Generation = 1, attach the VHD you have unpacked at step 1. Give it dynamic memory; a Dynamics 365 Onebox running under full steam consumes between 8 and 12 GB of memory. Hence, for a comfortable experience your physical server should possess no less than 24 GB RAM. Give the machine the Network Adaptor from step 3. An Automatic Start Action (delayed) makes sense for an always on, accessible anytime virtual machine.
  5. Start the VM. It should be able to boot and join the local area network. Connect to the machine using the default credentials: Username = CONTOSO/Administrator, Password = pass@word1 (you will be asked to change the password ASAP). Be aware the EN-US keyboard is active by default. FYI: for the SQL server Authentication in SQL Server Management Studio, the user name and password are going to be AOSUSER, AOSWebSite@123.
  6. Once connected, make yourself comfortable in the virtual machine: assign your native keyboard layout, localization options and the time zone. Dynamics is not going to let you in, though, for the admin provisioning tool has not been executed yet. Let the Windows Server 2016 running in the virtual machine download and install the latest updates. It is going to take a while.
  7. Create a snapshot of the VM to rollback any changes to this virgin state, if needed.
  8. Run the AdminUserProvisioning tool from the VM desktop to associate your personal Office 365 tenant account with the Admin user in Dynamics 365. FYI: the basic Office 365 Business Essentials subscription is as cheap as ~4 Euro a month.
  9. Try the Internet Information Server and the Dynamics 365 application by typing in https://usnconeboxax1aos.cloud.onebox.dynamics.com in the browser on the VM. The External network connection is mandatory, because the application is going to authenticate you against the Azure Active Directory.
  10. In the meantime, open your DHCP management console and assign a fixed local IP address to the virtual machine by the Hyper-V virtual MAC address. The VM must have gotten a lease already under the name ‘MININT-F36S5EH’. This lease can be Added to reservation to make the lease persistent, e.g. 192.168.0.201
  11. What the C:\Windows\System32\drivers\etc\hosts file does to the local machine, so is the DNS server for the local network. In the DNS console, create a new Forward Lookup Zone cloud.onebox.dynamics.com, and add a New Host (A) usnconeboxax1aos with the IP address from step 10 into this zone. The FQDN of the virtual machine in the local network becomes usnconeboxax1aos.cloud.onebox.dynamics.com:
  12. To test the connection, you may temporarily turn the firewall in the VM off for the internal network, and try to ping the VM by the name usnconeboxax1aos.cloud.onebox.dynamics.com from a different host in the LAN, then navigate to https://usnconeboxax1aos.cloud.onebox.dynamics.com in the browser. The browser is going to show an SSL certificate error.
  13. To circumvent the warning, export the SSL certificate from the IIS in the VM by opening Bindings… of the AOSService site, then Edit… > View… > Details > Copy to File, then save the file in a local network share, since your VM is able to browse the local network.
  14. Install the certificate on your notebook into the Trusted Root Certification Authorities repository of your Current User by double-clicking the .PFX certificate file from step 13 (you may review or delete them if needed in the Manage user certificate console).
  15. Try https://usnconeboxax1aos.cloud.onebox.dynamics.com again, voila!
  16. Update 27.03.2018: In order to download Office files from the machine or to use the Data management module you need to re-configure the Azure Storage Emulator in the OneBox, otherwise an error appears on the attempt to connect to the address http://127.0.0.1:10000.
  17. Open the configuration file C:\Program Files (x86)\Microsoft SDKs\Azure\Storage Emulator\AzureStorageEmulator.exe.CONFIG and replace 127.0.0.1 with usnconeboxax1aos.cloud.onebox.dynamics.com at 3 places.
  18. Open the configuration file C:\AOSService\webroot\web.CONFIG and replace the encoded connection string with UseDevelopmentStorage=true;DevelopmentStorageProxyUri=http://usconeboxax1aos.cloud.onebox.dynamics.com
  19. In the Windows firewall, add a new Inbound rule and open the ports 10000, 10001, 10002 to the Private network. Update 02.09.2019: The Azure Storage Emulator fails to release the 1000x ports on every VM restart e.g. due to mandatory Windows updates. Change the ports to 40000, 40001, 40002 in C:\Program Files (x86)\Microsoft SDKs\Azure\Storage Emulator\AzureStorageEmulator.exe.CONFIG, start the emulator, than restart the VM once more, set the ports back to 10000, 10001, 10002 and restart the emulator again.
  20. Restart the IIS application and the Azure Storage Emulator.

Onebox in the WAN

Exposing the same machine to the WAN is difficult. Obviously, you do not own the domain dynamics.com, and for the global Domain Name System to redirect an HTTPS call to the external IP address of your router, you have to rename the URL of the Dynamics 365 application first. The old instructions here and here do not work anymore, since authentication attempts from a fake URL such as dax.erconsult.eu fail with the error AADSTS50011: The reply address 'https://dax.erconsult.eu/' does not match the reply addresses configured for the application: '00000015-0000-0000-c000-000000000000’ Update 02.09.2019: This conundrum was solved by M.J. from the Netherlands: https://cloudtotal.blog/2019/08/tutorial-expose-a-dynamics-365-for-finance-and-operations-onebox-on-a-custom-public-domain/ Below is a copy of his work:

Connect the Warehouse Management App

Update 15.11.2023: Provided an up and running Dynamics 365 for Finance / SCM instance,as outlined in the previous chapter, the challenge is now to connect a Warehouse Management app and execute the respective workloads against the local server.
  1. Follow the advice Install the Warehouse Management mobile app – Supply Chain Management | Dynamics 365 | Microsoft Learn up to the selection of the authentication method.
  2. Opt for the User-based authentication. Follow the guidance User-based authentication – Supply Chain Management | Dynamics 365 | Microsoft Learn. It is essential to have these 2 API permissions granted to your Application: CustomService.FullAccess https://erp.dynamics.com/CustomService.FullAccess Resource APP ID: 00000015-0000-0000-c000-000000000000User.Read https://graph.microsoft.com/User.Read Resource APP ID: 00000003-0000-0000-c000-000000000000
  3. With regards to the user setup, you may find this blog highly useful: (6) User-based authentication (Device code flow) for the D365 Warehouse management app | LinkedIn The connection settings will look like this: where the client ID is the Application ID, and the Entra ID resource is the URL of the Dynamics 365 for Finance and SCM application.